Requirements:
- Computer with a USB or CD slot for burning the image. You will need root privileges on this device.
- Host device that you intend to run FreeBSD on. The device will need to be able to read either a USB stick or a CD/DVD.
- One of the following depending on the method you will be using to burn the image: a USB memory stick, or a blank disk.
- Windows users will need to download the latest version of Image Writer for Windows.
Step 1. Identifying the Host Device’s Processor:
- The first step will be to identify the processor type on the device that will host FreeBSD. Most computers include hardware stickers on the bottom or back of the device. When in doubt, search for the device on the manufacturer’s website.
- Once you have the processor info, search the processor name on the manufacturer’s website to find if it will supports 64 or 32-bit operating systems.
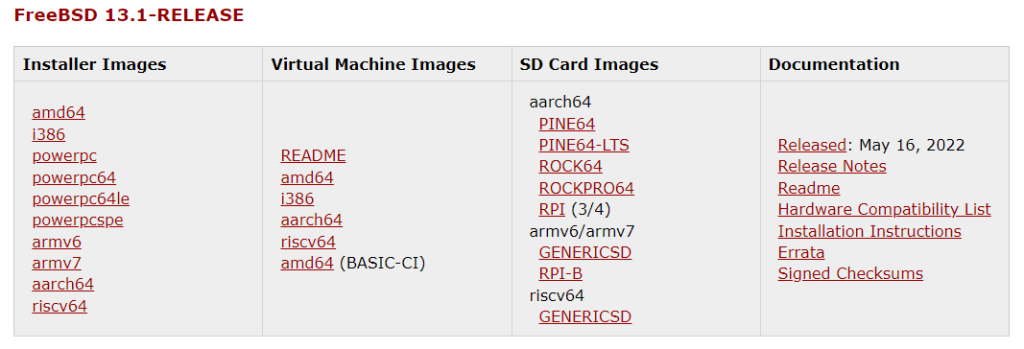
- Visit the official FreeBSD release page, found here. This should be done on the computer you are using to burn the image not the FreeBSD host device. The disk images are listed in order of release date. The most recent release can be found at the top of the page.
- Select “amd64” if you will be using FreeBSD on a 64-bit device or i386 for a 32-bit device. You will be redirected to a folder containing the FreeBSD images.
Step 2. Choosing the Media for Image Transfer:
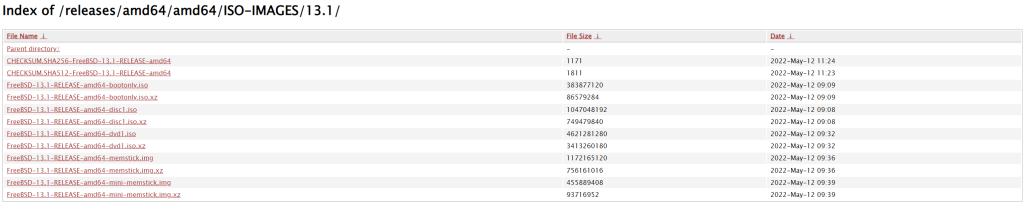
- Choose the download link that includes the media you intend to use. The file name will include the media type at the end of the file name.
Step 3.1 Writing the Image File using dd (Mac):
- If using a CD or DVD, simply use the computer’s CD or DVD burning application. While OSX and Windows provide these applications, many more can be found on Google. This will be as easy as drag and dropping the installed image to the disk and then ejecting it.
- If using a USB memory stick, however, an extra step will need to be made as simply copying the file will not work with .img files. This is where the dd command comes in (Image Writer for Windows users).
- On Mac/Linux open up the Terminal, located in applications or utilities depending on your OS.
- Enter the following commands, I’ve included the explanation of the command on the right, only enter the command line:
Warning: This example uses /dev/disk2, replace it with your disk location.
$ sudo su
Logs the user into the Super User (root) environment. On Mac you may have not set up a root account, if this is the case, refer to this guide. This requires the root password.
$ diskutil list
List the available disks. The memory stick should be listed. Take note of the location.
$ diskutil unmountDisk /dev/disk2
Unmounts the volumes on the target disk. Remember to replace the example location.
$ dd if=insertFreeBSDImage.img of=/dev/disk2 bs=1m
Replace [insertFreeBSDImage.img] with the file name that was downloaded from the FreeBSD website, this can also be done by dragging the file from your file searching app to the Terminal. The command copies the image to the memory stick. This will take a few minutes so sit back and grab a snack. Remember to replace the example location.
$ diskutil eject /dev/disk2
Ejects the memory stick.
Step 3.2 Writing the Image File Using Image Writer (Windows):
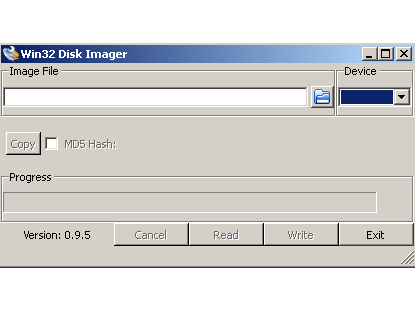
- Start by downloading Image Writer, a program for saving and restoring OS images on removable drives.
- Locate the image from the built-in file browser, then select the USB drive in the drop-down menu under “Device”
- Finally, select “Write” at the bottom of the application and wait for the program to finish writing the image file to your removable drive.
Step 4. Booting From the USB/Disk:
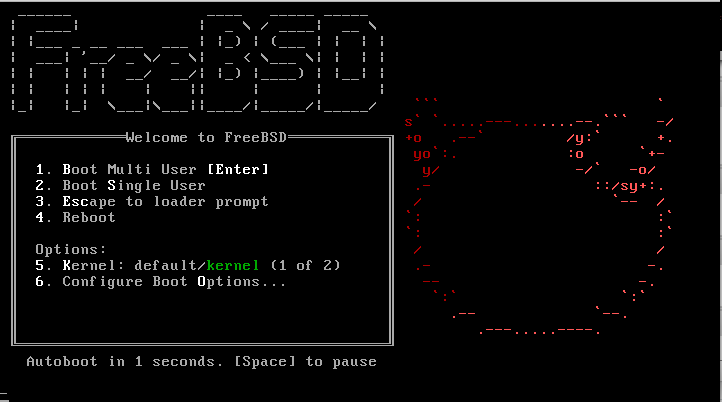
- This step is highly dependent on the device you’re using. If the device comes without a pre-installed operating system, FreeBSD should be the default option when it boots the first time (as long as the image media is inserted)
- If the device comes with an operating system, however, you will have to delay the initial boot process and instruct the device to boot from the FreeBSD media you are using.
- Make sure to have the FreeBSD media (disk or USB drive) inserted in the device.
- The boot loader on most computers will have a menu that appears with instructions on how to access boot settings. In general, the f12 key is the most commonly used, make sure to read the instructions and follow them to the boot settings.
- Under the boot settings, select either the disk drive or the USB drive as your primary booting location.
- Accept the changes and continue booting the computer, it should now boot FreeBSD.
Step 5. Post Installation Configuration:
- The FreeBSD booting system will automatically start once the device has been correctly configured to boot from the FreeBSD image. A guide to the next process can be found here. Sections 2.8-2.8.5 provide a step-by-step guide on how to configure the FreeBSD system. When in doubt, the default options should be used. These options can be reconfigured later if needed.
- Something to note while setting up FreeBSD: while you type in passwords in FreeBSD the text will not appear.
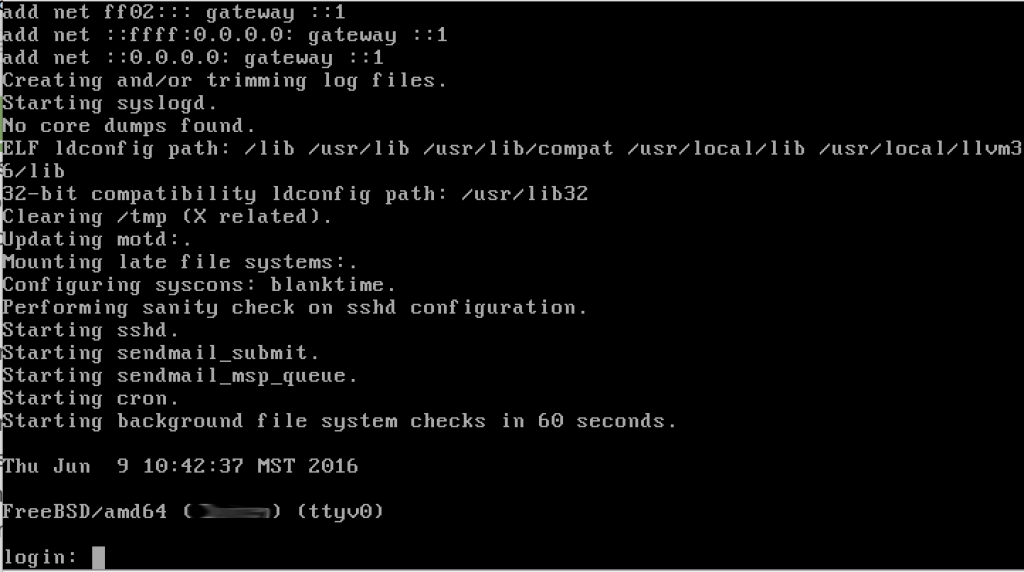
- Once you are finished, you will be prompted to restart the now configured device. Remove the disk or USB stick before doing so and select “yes”.
You now are running FreeBSD as your primary operating system!