Now is the perfect time to finally make the switch to FreeBSD! Let’s take a look at how to get started, and some of the things to expect from your new FreeBSD operating system.
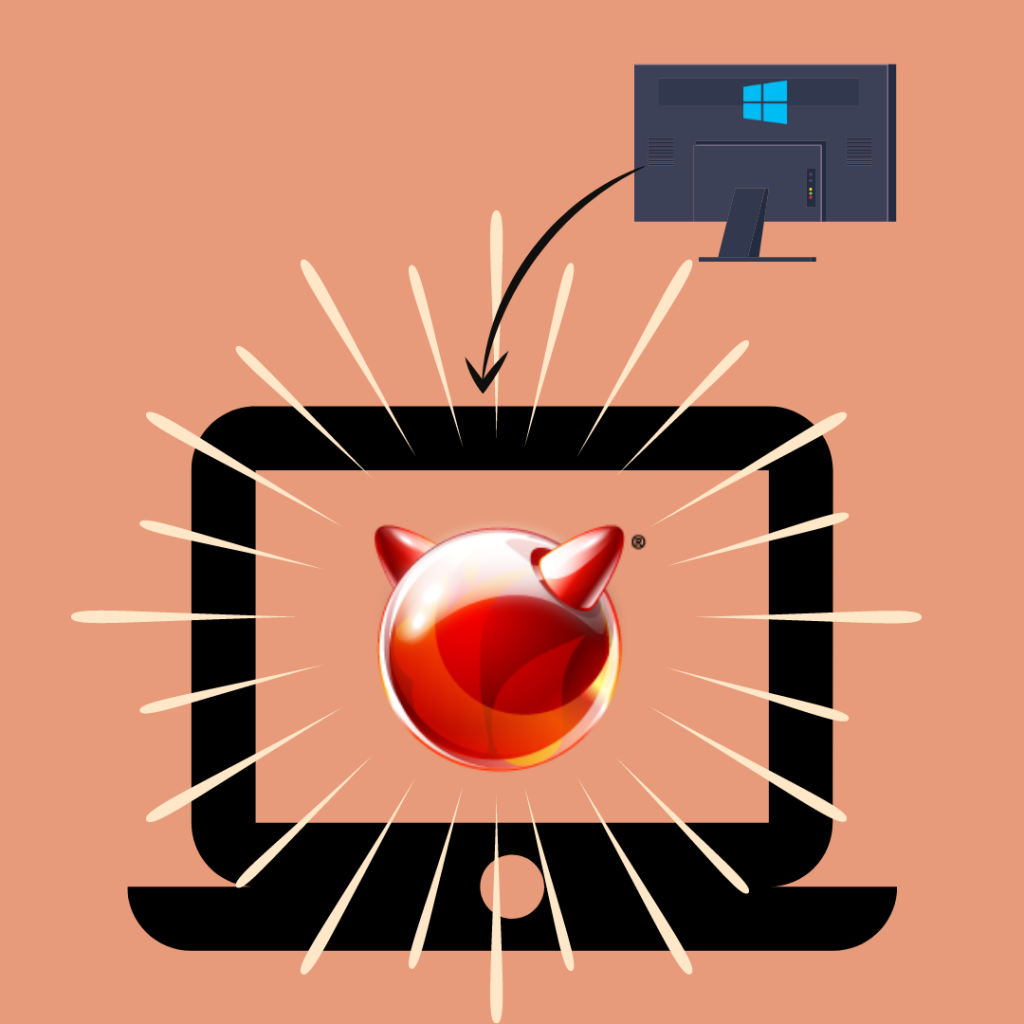
FreeBSD is a great option for users who have been stuck in macOS/Windows systems but want to move away from data collection, customized advertisements, and bloatware bundled with every update. If you’ve ever wanted to make the switch to the secure, stable world of FreeBSD but have been worried about moving away from your current system, this is the guide for you!
First Step: Installation
FreeBSD disc images can be downloaded at https://www.freebsd.org/where/
- For users looking to have FreeBSD as their primary operating system:
Installing FreeBSD as a Primary Operating System - For users looking to keep their primary operating system and run FreeBSD on VirtualBox(VM):
Installing FreeBSD with VirtualBox
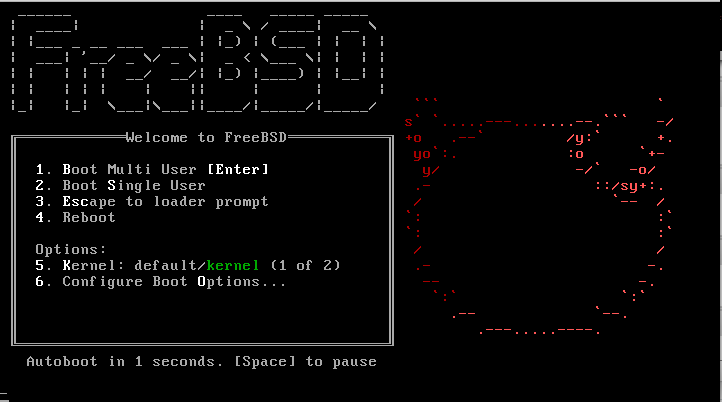
Much like Windows or macOS, after booting from the FreeBSD image, you’ll be able to set up passwords, users, and system settings.
FreeBSD relies on the command line for the bulk of tasks and this may take some time getting used to, in the next step, we’ll try out some basic commands to familiarize ourselves with the system and how it works.
The FreeBSD Command Line
While you may have never interacted with the command line on a macOS/Windows system, it’s a crucial component of FreeBSD. Get started by trying out some of the more common commands:
1. User/Account Management:
1.1 The Superuser Account
Some commands will require superuser, often referred to as “root”, privileges in order to execute. The superuser account has no limitations so it is not recommended to use the account for common commands. A typo or mistake could destroy the operating system. To avoid this, you should only access the superuser account when executing commands that require extra privileges.
While a user could log into the root account on startup, the recommended method is to use the su command to access the root account. In order to run this command the user must be in the wheel group. After entering the command, the system will prompt the user to enter the root password:
$ su
Once the user is done with the command, the superuser session can be ended by using the exit command:
$ exit
1.2 Managing User Accounts
A variety of user utilities are included in the FreeBSD operating system. The primary ones will be covered in this section.
$ adduser
The adduser command starts an interactive user-setup that you may recognize from the initial installation of FreeBSD. It is the recommended tool for setting up new accounts because it creates a home directory for the new user.
$ rmuser jru
The rmuser command is the recommended tool for removing accounts and cleaning up the processes and directories associated with the user. The example above is removing the user “jru”.
$ passwd jru
The passwd command can be used to change and set a new password for accounts.
$ pw groupmod wheel -m jru
The pw command is an extremely powerful user group utility. In this example, we are using it to add “jru” to the wheel group. It is recommended to read the linked manual page for this command as it is quite a bit more complicated than the other commands in this section.
2. Editing Text Files:
2.1 Basic Text Editor
FreeBSD comes with a simple, yet limited, text editor “ee“, or easy editor. This utility opens an editor display and lists the available commands at the top. The following example is how a user would edit the rc.conf file with easy editor:
$ ee /etc/rc.conf
Once the command has been executed, the display opens and allows you to make changes to the chosen file. The “^” symbol used in the command represents Ctrl and the utility can be quit using the Esc key.
While easy editor is a great utility for a new user, many more experienced users will find the utility to be limited and time-consuming to use.
2.2 Advanced Text Editor
Another text editor that FreeBSD includes is the extremely versatile vi command. Executing the command starts a text-based editor that allows users to directly view and edit text files. The vi editing options are not listed in the same way as the ee commands, however, more experienced users will find that once they become more experienced with vi, text editing becomes much easier and less time-consuming. Much like the last section, to edit the rc.conf text file using the vi command:
$ vi /etc/rc.conf
Arrow keys can be used to navigate the text file. The editing options can be found listed on the command’s manual page if you scroll down to the second section. These commands can be entered by first hitting the Esc key, followed by the command.
For example, if a user is trying to add text directly after the cursor the user would first hit the Esc key to exit the previous command, then hit the a key. They would then be able to enter the text they wish to add.
Because the sheer number of text-editing options, users should read through the manual page before using the vi command.
Desktop Environments and the Graphical User Interface
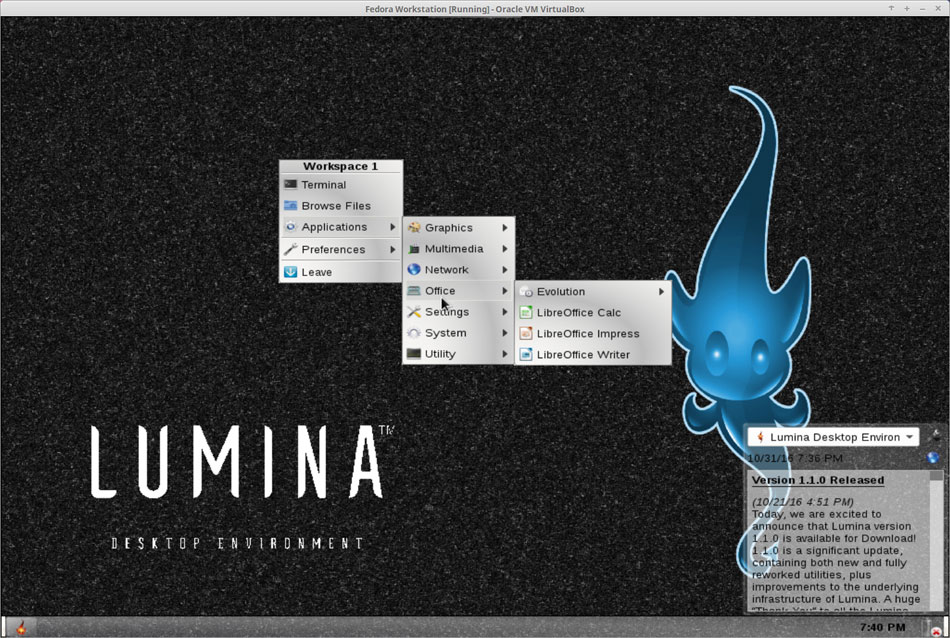
FreeBSD does not come with a native Graphical User Interface (GUI) or desktop environment, so a system running FreeBSD may visually look quite different from an operating system with an included environment. If you’re making the switch from windows, this may be the most daunting difference you experience.
While many developers and OS hobbyists prefer the simplified system, FreeBSD does support a wide range of desktop environments and has the X Window System, a simple, easy to configure GUI.
Users who are looking for the security and stability of FreeBSD, but the accessibility of a native desktop environment may want to consider these FreeBSD desktop distributions. But you can also Install FreeBSD and then choose to set up a desktop environment later.
Once you reboot, you’ll immediately be put in to the desktop environment of your choice. While each desktop environment is different, the basics are still very similar to your old Windows system. Each one will come with basic applications included, such as a web browser, calculator, and visual file browser.
Play around with different desktop environments until you find one that fits your needs. One of the great features of FreeBSD is the rich collection of customizable features and environments that you wouldn’t have on Windows/macOS.
You can also use the “terminal” app to get access to FreeBSD’s command-line features.
Installing Ports/Packages

The most common way to install applications on Windows is from the web, FreeBSD is a bit different in this regard. The FreeBSD ports collection is a well maintained collection of applications, utilities, and system software. Because many applications are created to run on Windows/macOS, they have to be “ported” to run on FreeBSD.
This is something to consider when switching to FreeBSD, it is possible that software that you rely on for your Windows system may not be available on FreeBSD. However, the ports collection is expansive, and new applications are constantly being added, it is very likely that the majority have been ported, or have FreeBSD-based alternates.
FreeBSD offers two primary methods of downloading applications and system tools: packages and ports. Users will have to choose between the two collections when installing these tools. Packages are pre-compiled binary packages, typically smaller in size than full port installations and they do not require compilation time. However, ports are a much more customizable option, allowing users to directly interact with the build process and configure the application to their preference. Additionally, installing an application from a port can help a user understand how the application is compiled, configured, and finally built into a binary.
1. Set Up the Ports Collection:
To begin installing ports on our FreeBSD system, we must first download the Ports Collection.
- Git can be installed as a package:
# pkg install git
- Check out a copy of the HEAD branch of the ports tree:
# git clone https://git.FreeBSD.org/ports.git /usr/ports
- As needed, update
/usr/portsafter the initial Git checkout:
# git -C /usr/ports pull
2. Navigating the Ports Collection
In order to find applications, you will need to find the category and package name.. The Ports Collection contains directories for software categories, and inside each category are subdirectories for individual applications.
- Visit the official FreeBSD ports website and search for applications using the highlighted search bar.
- Search for an application like firefox and take note of the category and package name of the application from the results page.
- Navigate to the application’s directory in the Ports Collection, substituting in the category name and package name you noted earlier:
$ cd /usr/ports/CATEGORY_NAME/PACKAGE_NAME
3a. Installing the Port
After navigating to the directory, you can install the port directly, this will take some time for compilation.
To install the port (and clean the directory to remove any temporary files afterward), type
$ make install clean
3b. Installing Using pkg
Instead of navigating to the application’s directory, applications can be downloaded as binary packages using pkg.
If you have an internet connection, you can bootstrap the system with:
# /usr/sbin/pkg
Otherwise, to install the port, run:
# cd /usr/ports/ports-mgmt/pkg
# make
# make install clean
Finally, to install a binary package use the following command, where packagename is the name of the package to install:
# pkg install packagename
More Resources
While this guide contains enough to get you started and running on FreeBSD, plenty of further resources exist to help you master your new system.
Start by checking out the FreeBSD Handbook:
More information on commands can be found in the manual pages: